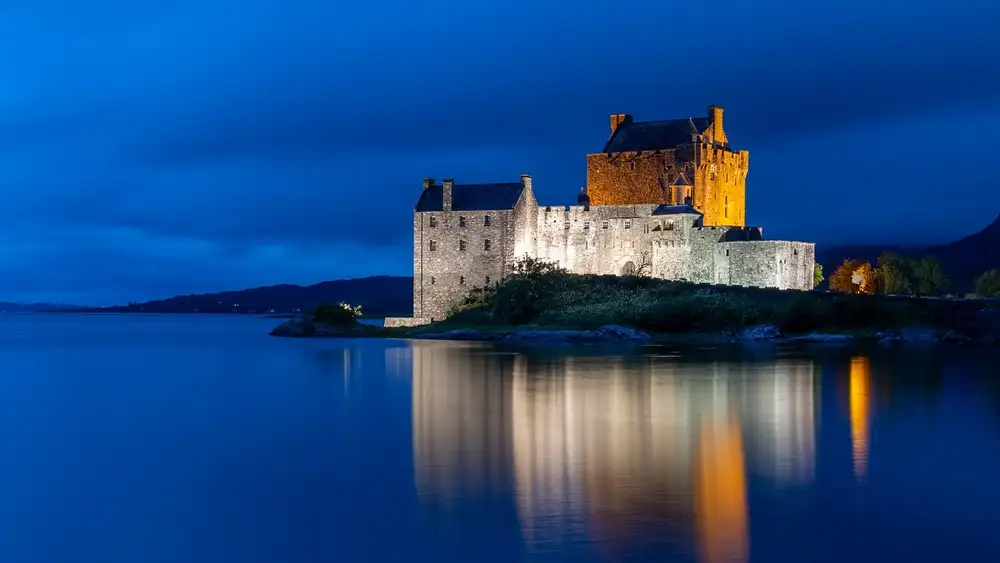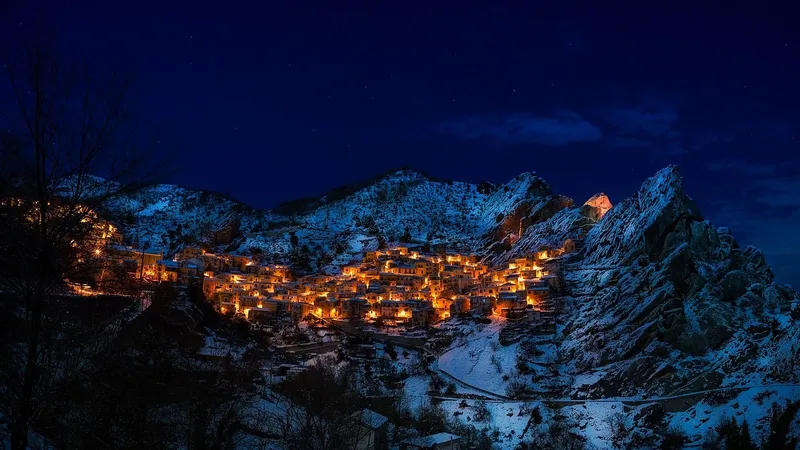
Photography is the art of capturing the dance of time and light, and one of the most fascinating moments of this dance occurs during the so-called blue hour. During these moments just before sunrise and just after sunset, the sky is covered in a stunning blue hue, giving photographers the opportunity to capture extraordinary images. So, what is the blue hour, and how does it occur?
What is the Blue Hour?
The blue hour is defined as the time when the sun is below the horizon but continues to illuminate the sky. This period typically lasts around 20-30 minutes before sunrise and after sunset.
The blue hour occurs as a result of the sun’s rays being refracted and dispersed in the atmosphere. The sun’s rays collide with molecules, dust, water droplets, and other particles in the atmosphere. These collisions cause the rays to split into colors of different wavelengths, also known as the colors of the rainbow: red, orange, yellow, green, blue, indigo, and purple.
When the sun is below the horizon, the rays travel a longer path through the atmosphere. This extended journey causes the rays to undergo further refraction and dispersion. In this process, long-wavelength colors such as red, orange, and yellow are absorbed by particles in the atmosphere. Consequently, the remaining colors in the sky are short-wavelength colors like blue, indigo, and violet. This phenomenon is also referred to as Rayleigh scattering.
Another explanation is Chappuis absorption, predominantly occurring in the tropospheric layer of the atmosphere. Chappuis absorption refers to the absorption of a small portion of sunlight in the visible part of the electromagnetic spectrum by ozone. This absorption takes place at wavelengths between 400 and 650 nanometers, contributing to the blue color of the sky. Chappuis absorption is notably evident during dawn and dusk, commonly known as the blue hour.1
When Does the Blue Hour Occur?
The blue hour can vary depending on the position of the sun, the season, and the weather conditions. The duration during which the sun is below the horizon differs with the seasons. In the summer months, the sun rises and sets at higher angles, resulting in a shorter duration of the blue hour. In contrast, during the winter months, the sun rises and sets at lower angles, prolonging the duration of the blue hour.
Another factor influencing the duration of illumination and dusk is the latitude. In locations near the equator, the sun rises and sets at steeper angles, resulting in a shorter duration of the blue hour. Conversely, in places closer to the poles, where the sun rises and sets at shallower angles, the periods of illumination and dusk are much longer compared to locations near the equator.
To not miss the blue hour, it’s essential to track the sunrise and sunset times, which vary worldwide. Therefore, the first step is to learn the sunrise and sunset times for your specific location. Unless you reside very close to the polar regions, the blue hours are typically the last 20-40 minutes before sunrise and the first 20-40 minutes after sunset. However, for more detailed and precise calculations, you can use applications like BlauTime.


Tips for Blue Hour Photography
During the blue hour, landscapes including the sky, buildings, bridges, sea, river, and lake are bathed in a bluish light. This illumination adds a dramatic and mystical atmosphere to photos, making the act of taking photographs during these hours an extraordinary experience for both amateur and professional photographers. However, it also presents some challenges.
Firstly, it’s crucial to choose the right equipment. The low light levels during the blue hour can lead to blurry and dark photos. To overcome this issue, consider using the following equipment:
- A tripod allows you to keep your camera steady, enabling the use of long exposure times and ensuring clear photos. It also facilitates adjusting the angle and height of your camera.
- A remote control or timer allows you to capture photos without physically touching your camera, resulting in clearer shots without any camera shake. This setup is particularly helpful for including yourself in the photo.
- A wide-angle lens provides a broader field of view, allowing you to photograph expansive landscapes like the sky, city, and sea from a more extensive perspective. Additionally, a wide-angle lens enhances depth and dimension in your photos.
- Filters are essential tools for modifying the colors, contrast, and brightness of your photos. During the blue hour, different types of filters can be utilized. For instance, an ND filter reduces the amount of light entering your camera, enabling longer exposure times to capture and soften moving elements in your photos. The GND filter darkens half of the photo while leaving the other half normal, allowing you to balance the light between the sky and the ground, resulting in a better tonal range in your photos.

Another important factor is to configure your camera settings manually. Since the light level changes continuously during the blue hour, your camera’s automatic mode may not be sufficient. To prevent this issue, you can make the following settings:
- ISO determines the sensitivity of your camera to light. The higher the ISO value, the more light your camera will capture. However, as the ISO value increases, noise in your photos also increases, which reduces the overall quality of your images. During the blue hour, when the light level is low, you may need to slightly increase the ISO value. However, it is advisable not to set the ISO value too high to minimize noise. To achieve this, using a tripod and longer exposure times is preferable.
- The aperture value, or f-stop, affects how much light your lens allows in. A smaller aperture value lets in more light, but it also reduces the depth of field in the photo. This can result in some elements being sharp while others are blurred.
- Exposure time determines how long your camera’s shutter remains open. The longer the exposure time, the more light your camera will capture. However, increasing exposure time can lead to blurriness in your photos. In low light conditions, such as during the blue hour, extending the exposure time may be necessary. However, when using longer exposure times, it is crucial to use a tripod and either a remote control or a timer. Additionally, if there are moving elements in your photos, it’s important not to set the exposure time too long to maintain sharpness.
- Wikipedia contributors. (2023, November 25). Chappuis absorption. In Wikipedia, The Free Encyclopedia. Retrieved 06:42, February 6, 2024[↩]


